Dev Environment
Choosing a development environment is mostly a matter of personal preference. You can use whatever tools you feel comfortable with. If you’re not sure where to start, here are a couple of options to get you going.
Using WordPress Playground
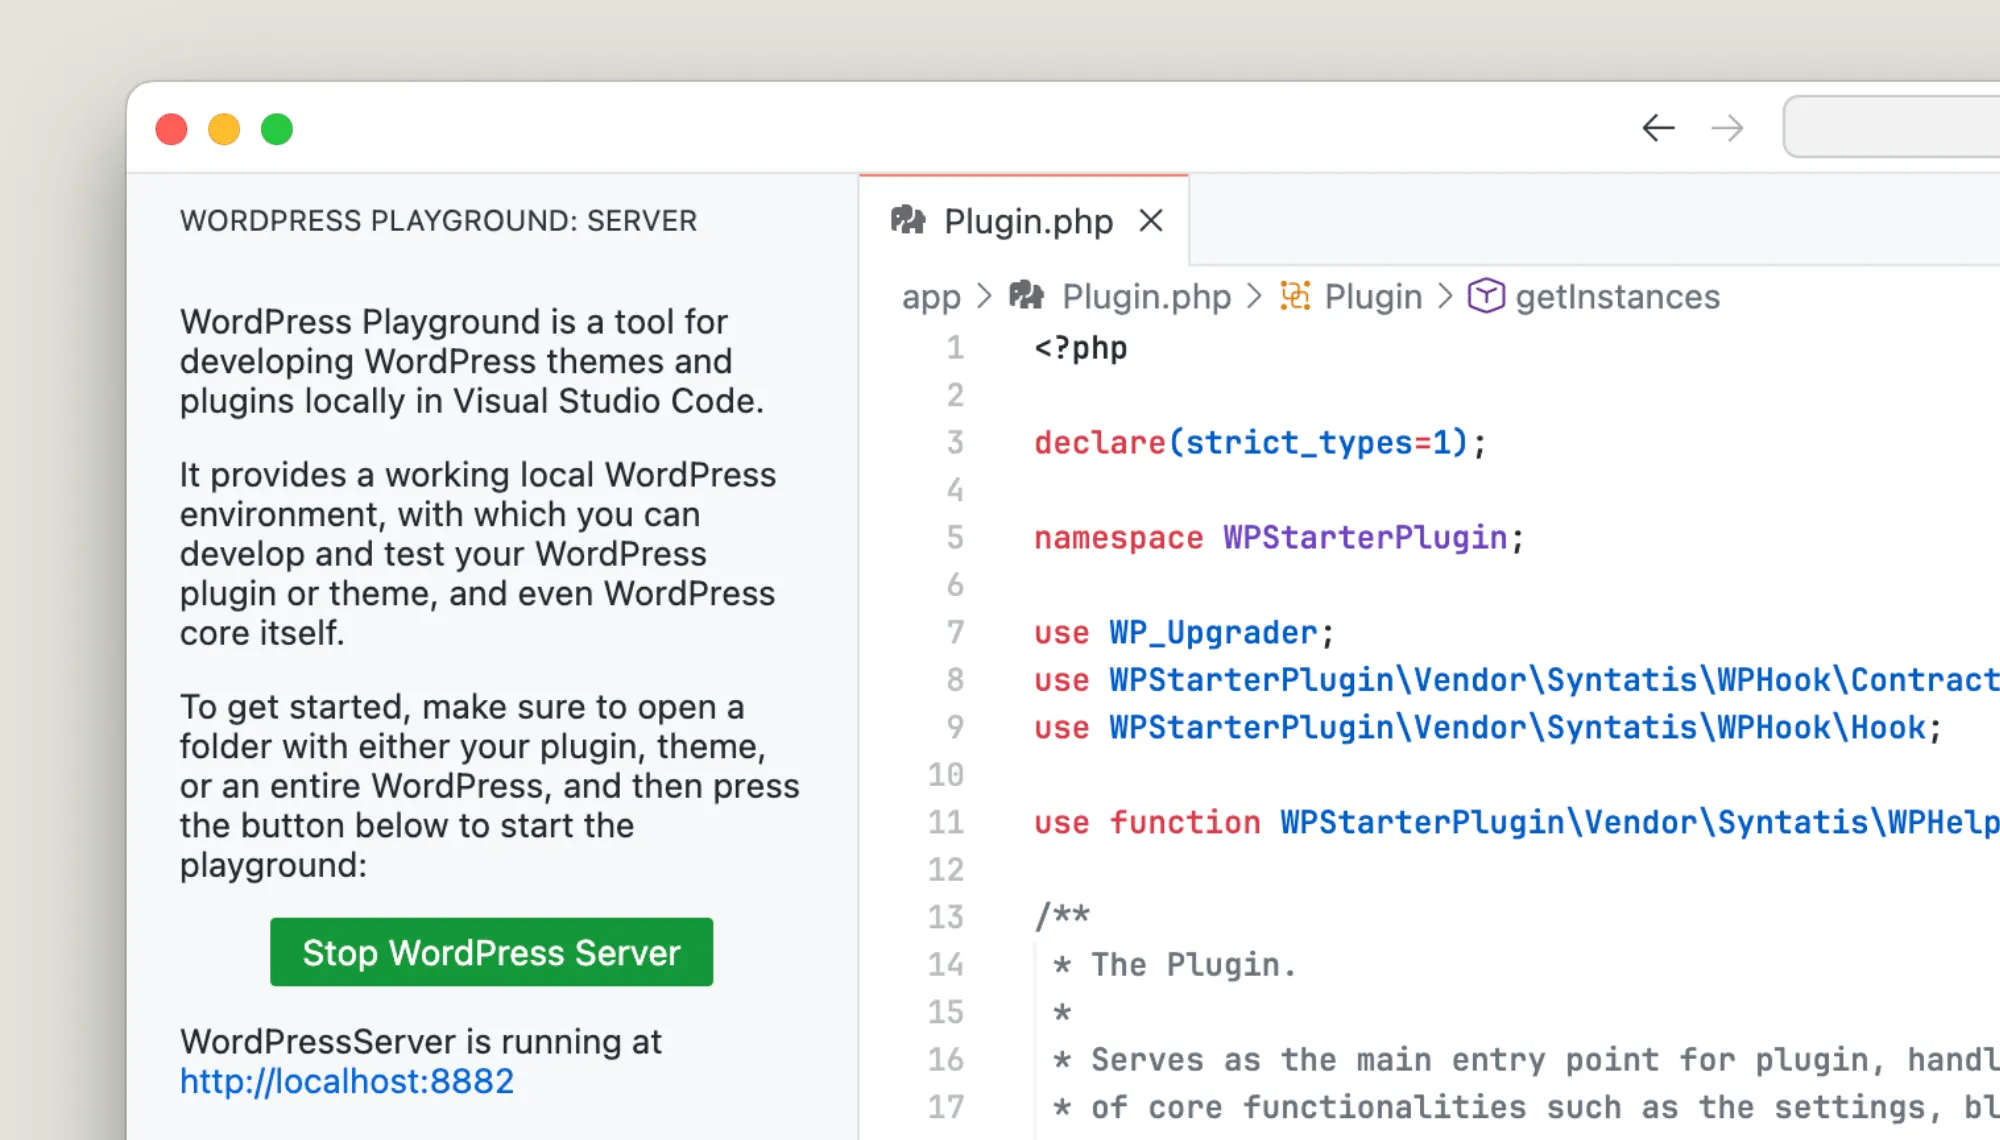
If you use Visual Studio Code, the quickest and easiest way to test and preview your plugin is by using the WordPress Playground extension. This extension allows you to run a local WordPress server and preview your plugin directly from Visual Studio Code.
To get started, install the WordPress Playground extension. Then, open the command palette and run the Launch WordPress Playground command. This will start a local WordPress server and open a new browser window with the WordPress admin dashboard, where you can test your plugin.

WordPress Playground is quick and easy to set up. However, it lacks some advanced features of a full development environment and might be slower or may crash (from my experience) depending on the PHP script you run.
If you need features like MySQL access or a custom server setup, we recommend using a more robust local development environment like @wordpress/env, or GUI applications such as MAMP Pro and DevKinsta.
Using @wordpress/env
@wordpress/env is a command-line tool to set up a local WordPress development environment. It’s part of the WordPress project and is designed for developing and testing plugins and themes.
It comes with MySQL and some development tools like Xdebug and WP-CLI. However, it requires a bit more advanced setup than the WordPress Playground. Here’s what you need to have installed on your machine to use @wordpress/env:
- Docker: Required to run WordPress/PHP, MySQL, and other services. You can follow the instructions for installing Docker from the Docker official docs. If you’re on macOS, there’s a lighter and faster alternative, OrbStack.
- Node.js: Since
wp-envis written as a Node script, you need to have Node.js installed on your machine. You can download it from the Node.js website, or use a version manager like nvm. - Git:
wp-envrequires Git to download the WordPress, plugins, and themes source code. You can download Git from the Git website.
Once you have these installed, follow these steps to set up your local WordPress environment using @wordpress/env:
-
Install
@wordpress/envglobally by running the following command in your terminal:Terminal window npm install -g @wordpress/env -
Navigate to your plugin directory and run the following command to start the local WordPress environment:
Terminal window wp-env start
That’s it! You can now access your local WordPress site, by default, at http://localhost:8888. You can log in with the username admin and password password. For more information on how to use @wordpress/env, check out the official documentation.
